Please read instructions thoroughly before attempting installation of the Neil and Parks Air Bleeds. Installation service is available if you send us your injector manifold.
Tools Needed
- Electric or Air Drill with 1/2" chuck
- 7/16 drill bit
- 1/4" NPT Tap
- Loctite (preferably red 271 or green 620)
- Die grinder with some kind of round abrasive product, and preferably a coarse tooth burr.
Parts List
- Qty 8 - Air bleeds with setscrew and nut
Instructions:
- Determine the best location for the air bleed. Take into consideration nozzles, nozzle lines, valve covers, or any other obstruction. Anywhere below the butterfly will work. Try not to place them so fuel spray from the nozzles would spray out the hole in the air bleed.
- Drill a 7/16 hole in each runner where you want the air bleed to screw in. Then tap that hole to 1/4" NPT.
- Screw in the air bleeds with loctite on the pipe thread and the jam nut pointing the direction you want for easy adjustment. If you have T&D rockers, your lash adjusting wrench will fit the air bleeds jam nut and setscrew.
- Grind off the threads of the air bleed that protrude into the runner if there is any.
- Reassemble your injector. To make best use of the air bleeds, set the throttle blades as closed as you can without them sticking shut. Then open up the air bleed on the coldest cylinder first, then move to the next coldest and keep playing with the screws until each cylinder is the same temperature. If you have a Racepak, using the live telemetry with the EGT's will make this much faster and easier.
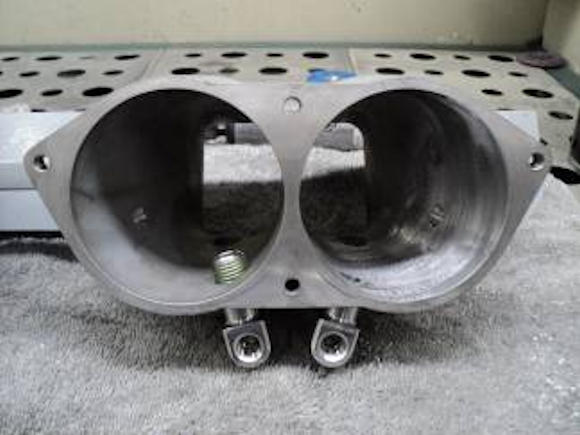
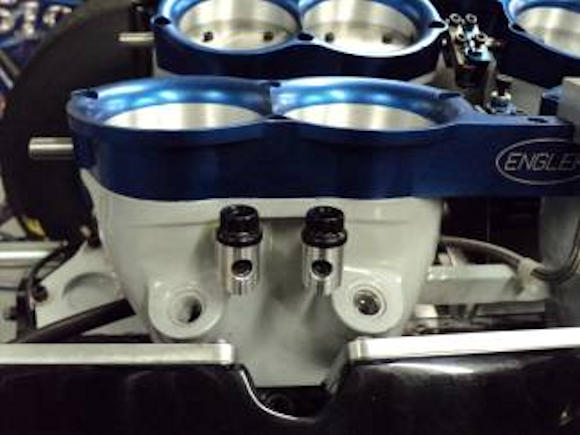
Here are a couple of images of the first installation we did. If you have any questions please call 785-422-8722.